
So you've decided you're going to get an AR. And you're wondering whether you should buy a complete rifle, or build. Well there are a few things you should know before you take the plunge to build an AR lower receiver. I'm a firm believer, having done it, that "building" an AR basically just means building the lower receiver and slapping a complete upper assembly on it. Yeah, you can build an upper also, but there is a LOT more technicality involved, not to mention some pricey tools which are needed. So when most people say, "I'm going to build an AR-15", they just mean the lower receiver, and truthfully that's what I'd advise.
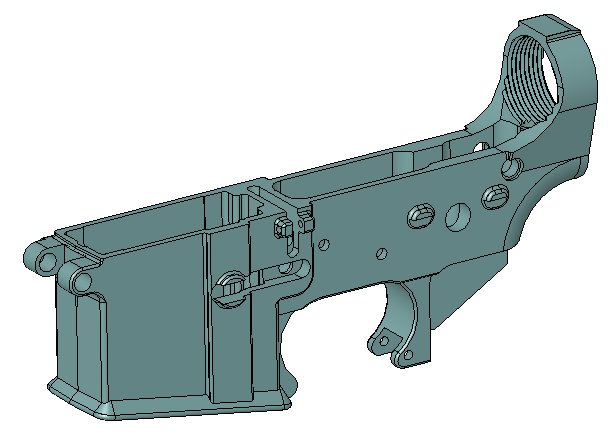 An AR-15 stripped lower receiver
First off, pretty much all lower receivers are the same. They are CNC machined aluminum (don't even look at a polymer lower receiver by the way) and are pretty much all manufactured by a handful of shops in the US, who then in turn sell them to lots of different distributors, who stamp them with their custom roll mark (like the Colt horse, right?). Chances are you may even have seen two different lowers with different roll marks that came from the exact same CNC machine. A lower is a lower is a lower. AS LONG as it is in spec. Expect to pay anywhere from $50 to $200 for a good quality mil-spec stripped lower.
Stripped lower receivers are bare of all the moving parts, such as the trigger group, safety, pistol grip, mag release, takedown pins, etc. Those parts are purchased separately in a LOWER PARTS KIT. Now here is an important step. THERE IS A GREAT DEAL OF VARIABILITY IN THE QUALITY OF LOWER PARTS KITS. It is not uncommon to get kits with out of spec parts which either don't fit or don't function correctly. Make sure you get a reputable kit from a reputable manufacturer, and not just the cheapest one you see on Google.
 Get a good one
When you get your lower and parts kit, check all the holes in the lower and make sure they are round and free of overspray. Insert a magazine into the mag well to make sure it fits and doesnt get stuck. Next, be sure you know what you are doing when you begin installing parts because you need to go in a methodical order and there are some tricks to know along the way. The book I used as a reference was "The AR-15 Complete Assembly Guide" by Walk Kulick. Also, there are some very good videos on YouTube to guide you through the process. Here are the best tips I can give you after going through this process:
1: You'll need a set of roll pin punches, a plastic hammer/mallet, a flat head screwdriver, maybe some needle-nose pliers, and a castle-nut wrench to install the buffer tube. Really, thats it. Most of this stuff you probably have at your house. Getting the roll pins punches and castle nut wrench is a good investment, as you will use these again in the future.
2: Use blue painting/masking tape on your lower anywhere you will be hammering or using a screwdriver. This will save you some unwanted scratches or dings. REALLY, DO THIS.
3: Take your time and be methodical.
4: Wear eye protection when putting springs/detents in. They can go flying. It also may help to have a couple spare springs/detents around because they get lost easily.
5: Function check EVERYTHING when you are done.
6: Don't fire your trigger unless your lower is attached to an upper. The hammer hitting the bolt catch could shatter and destroy the bolt catch.
In summary, building an AR-15 lower receiver is fun, but should be taken with the understanding that you know what you are doing. Some familiarity with the AR platform is required. The financial gain of building is minimal, so buying a completely assembled AR-15 for your first rifle might be a better option. Consider your level of expertise with the platform right out front and plan your build carefully.
For an in-depth review of the AR-15 lower receiver, see HERE.
See you next time guys!
~Mac
First off, pretty much all lower receivers are the same. They are CNC machined aluminum (don't even look at a polymer lower receiver by the way) and are pretty much all manufactured by a handful of shops in the US, who then in turn sell them to lots of different distributors, who stamp them with their custom roll mark (like the Colt horse, right?). Chances are you may even have seen two different lowers with different roll marks that came from the exact same CNC machine. A lower is a lower is a lower. AS LONG as it is in spec. Expect to pay anywhere from $50 to $200 for a good quality mil-spec stripped lower.
Stripped lower receivers are bare of all the moving parts, such as the trigger group, safety, pistol grip, mag release, takedown pins, etc. Those parts are purchased separately in a LOWER PARTS KIT. Now here is an important step. THERE IS A GREAT DEAL OF VARIABILITY IN THE QUALITY OF LOWER PARTS KITS. It is not uncommon to get kits with out of spec parts which either don't fit or don't function correctly. Make sure you get a reputable kit from a reputable manufacturer, and not just the cheapest one you see on Google.
When you get your lower and parts kit, check all the holes in the lower and make sure they are round and free of overspray. Insert a magazine into the mag well to make sure it fits and doesnt get stuck. Next, be sure you know what you are doing when you begin installing parts because you need to go in a methodical order and there are some tricks to know along the way. The book I used as a reference was "The AR-15 Complete Assembly Guide" by Walk Kulick. Also, there are some very good videos on YouTube to guide you through the process. Here are the best tips I can give you after going through this process:
1: You'll need a set of roll pin punches, a plastic hammer/mallet, a flat head screwdriver, maybe some needle-nose pliers, and a castle-nut wrench to install the buffer tube. Really, thats it. Most of this stuff you probably have at your house. Getting the roll pins punches and castle nut wrench is a good investment, as you will use these again in the future.
2: Use blue painting/masking tape on your lower anywhere you will be hammering or using a screwdriver. This will save you some unwanted scratches or dings. REALLY, DO THIS.
3: Take your time and be methodical.
4: Wear eye protection when putting springs/detents in. They can go flying. It also may help to have a couple spare springs/detents around because they get lost easily.
5: Function check EVERYTHING when you are done.
6: Don't fire your trigger unless your lower is attached to an upper. The hammer hitting the bolt catch could shatter and destroy the bolt catch.
In summary, building an AR-15 lower receiver is fun, but should be taken with the understanding that you know what you are doing. Some familiarity with the AR platform is required. The financial gain of building is minimal, so buying a completely assembled AR-15 for your first rifle might be a better option. Consider your level of expertise with the platform right out front and plan your build carefully.
For an in-depth review of the AR-15 lower receiver, see HERE.
See you next time guys!
~Mac
This comment has been removed by the author.
ReplyDeleteThis comment has been removed by a blog administrator.
ReplyDelete